I’ve been working with caterpillars, and I needed to find a way to keep the caterpillars on the leaf for a few days so I can come back and get them later. Clip cages are great for this. Bio-Quip sells them, but they are small (1″ inner diameter) and expensive ($40 for a pack of 10). Here’s a step-by-step guide of how to make your own clip cages. These cages are great for hobbyists wanting to rear insects, teachers who want to raise insects in a classroom, or researchers who need a way to do experiments (cheaply) with bigger insects.
1. Purchase the appropriate foam tube and supplies
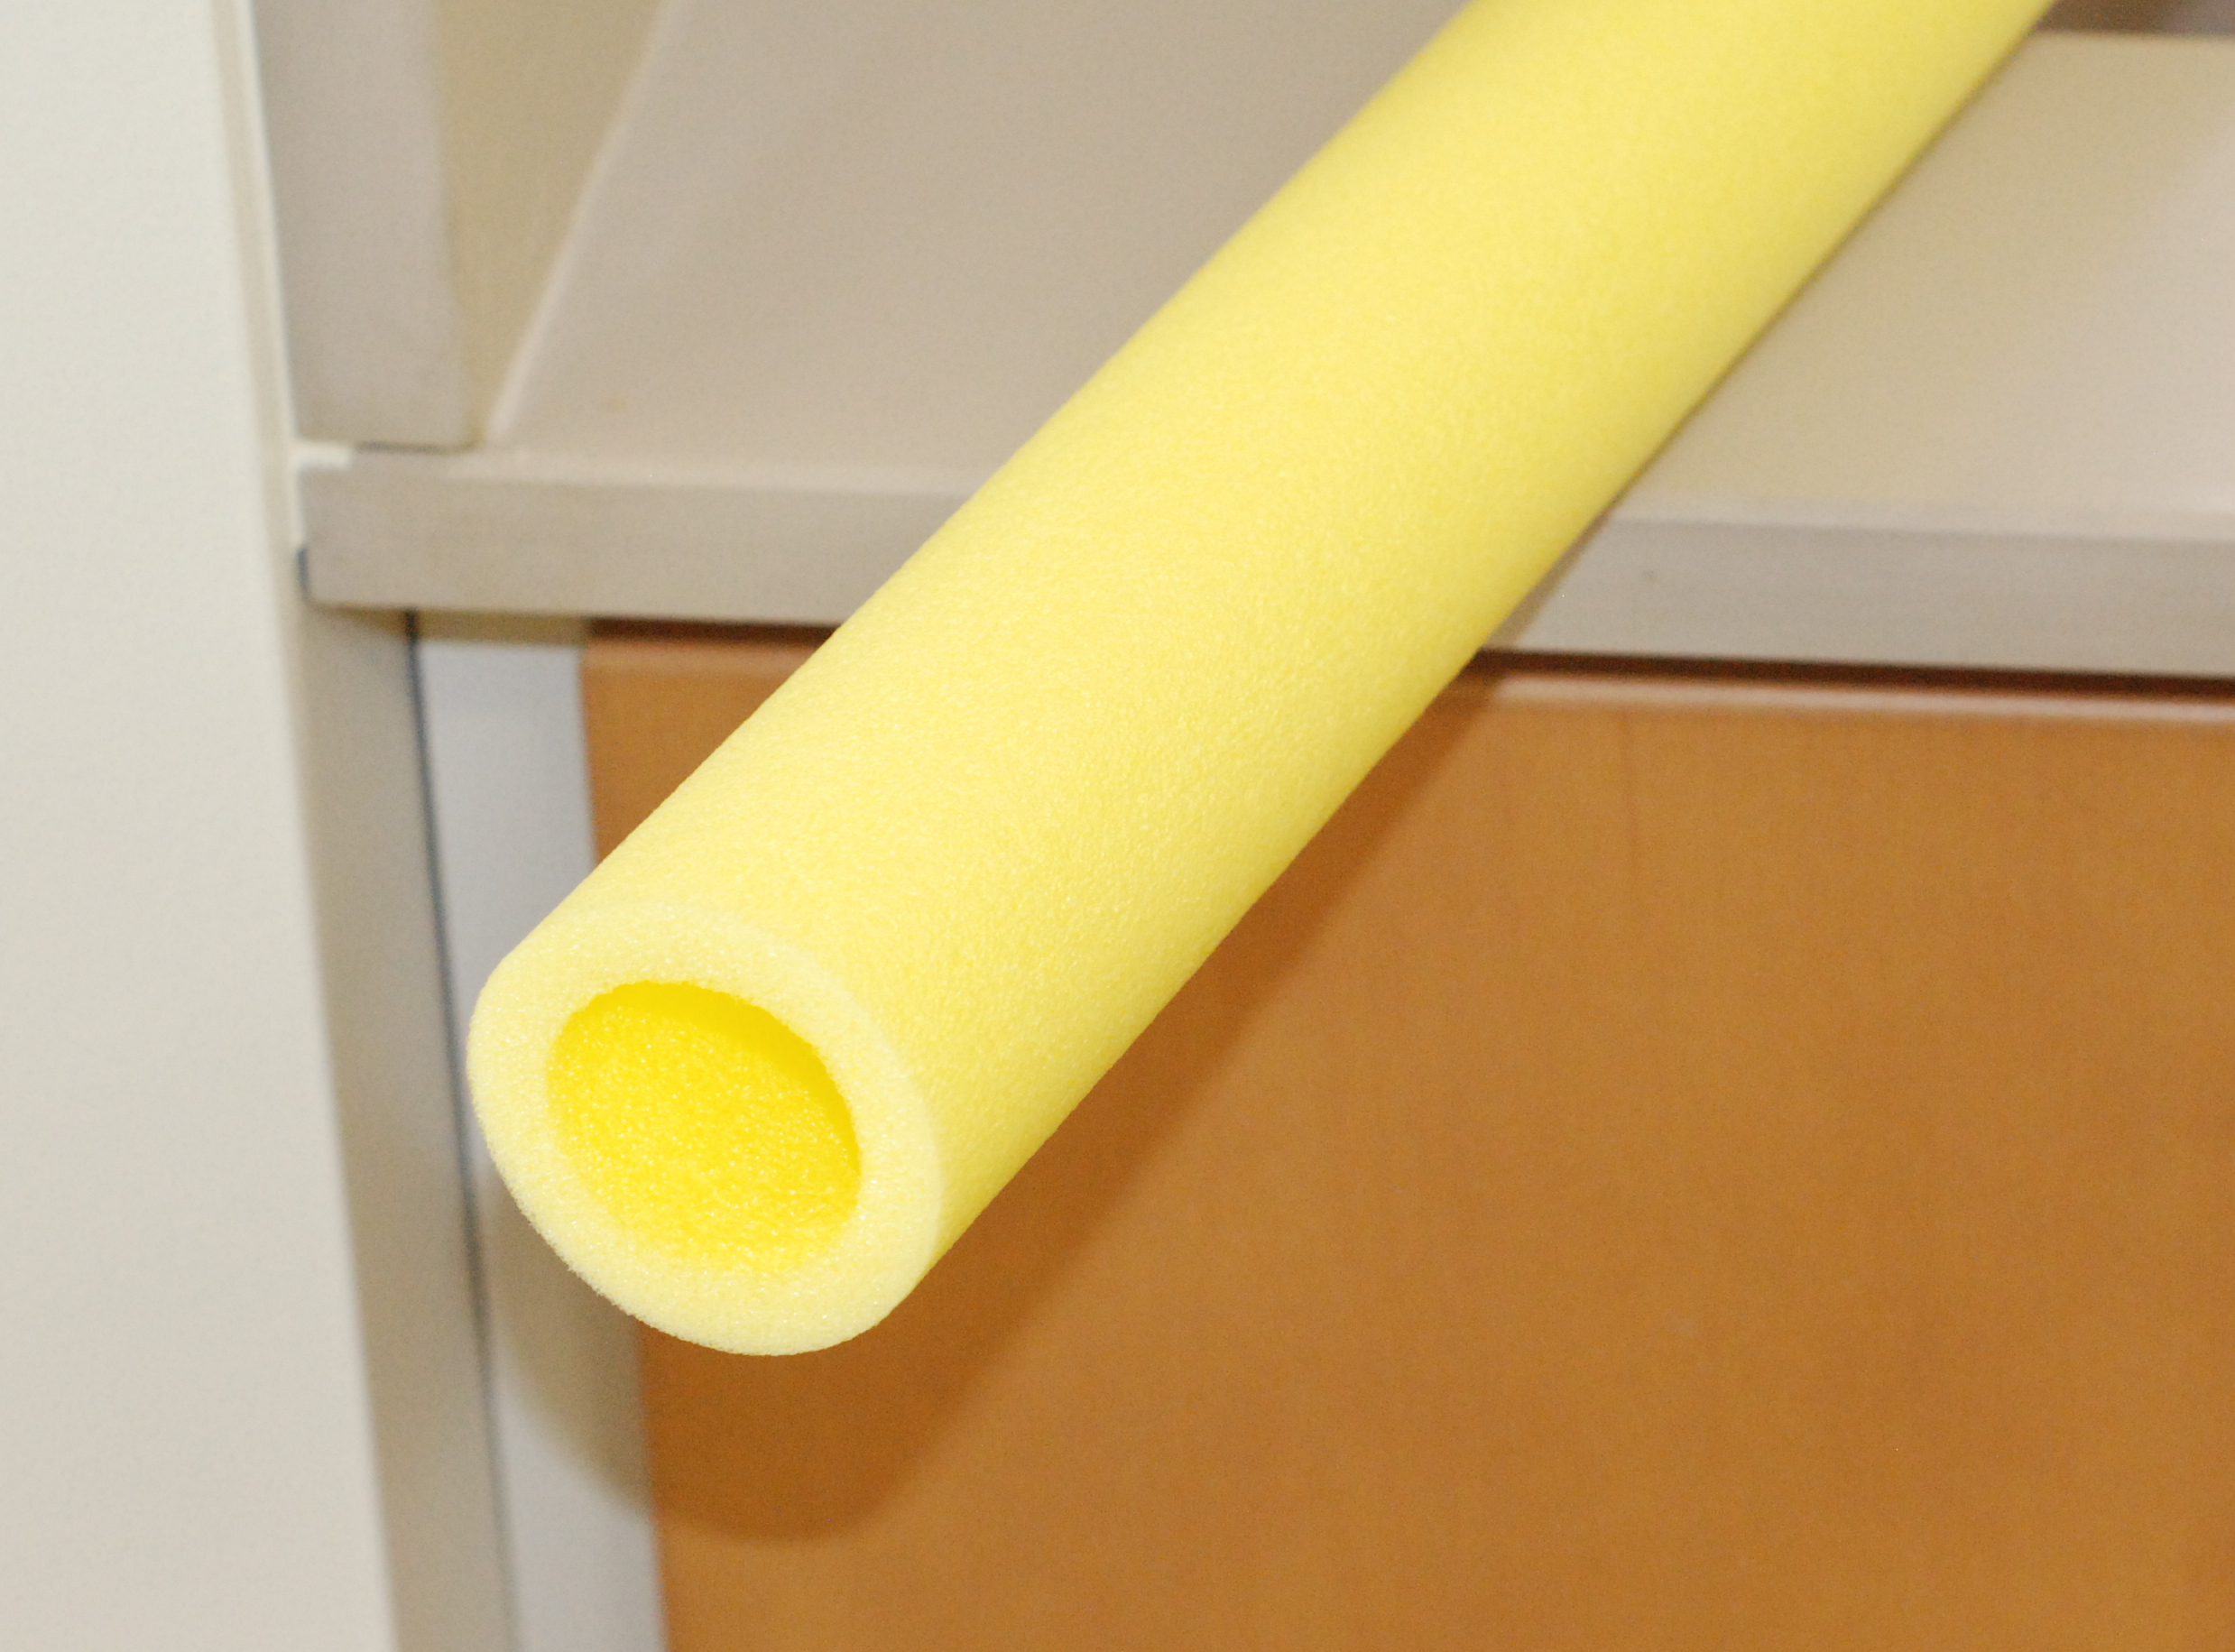
I used both trampoline pole padding (1.5″ inner diameter) and pool “super-noodles” (2″ inner diameter). Either one works well, is cheap ($3 – $5), and light (no more petri dishes that overload the leaf and cause sagging). A single tube can get about 15 full cages. Other than the tube, you only need window screening (cheap at home depot), contact cement ($4 per bottle), and long staples ($3 – $5 for 100). I like Powershot cable staples because they are wider than normal staples, but you need to pull the plastic end off to make them useable.
2. Chop up the tube
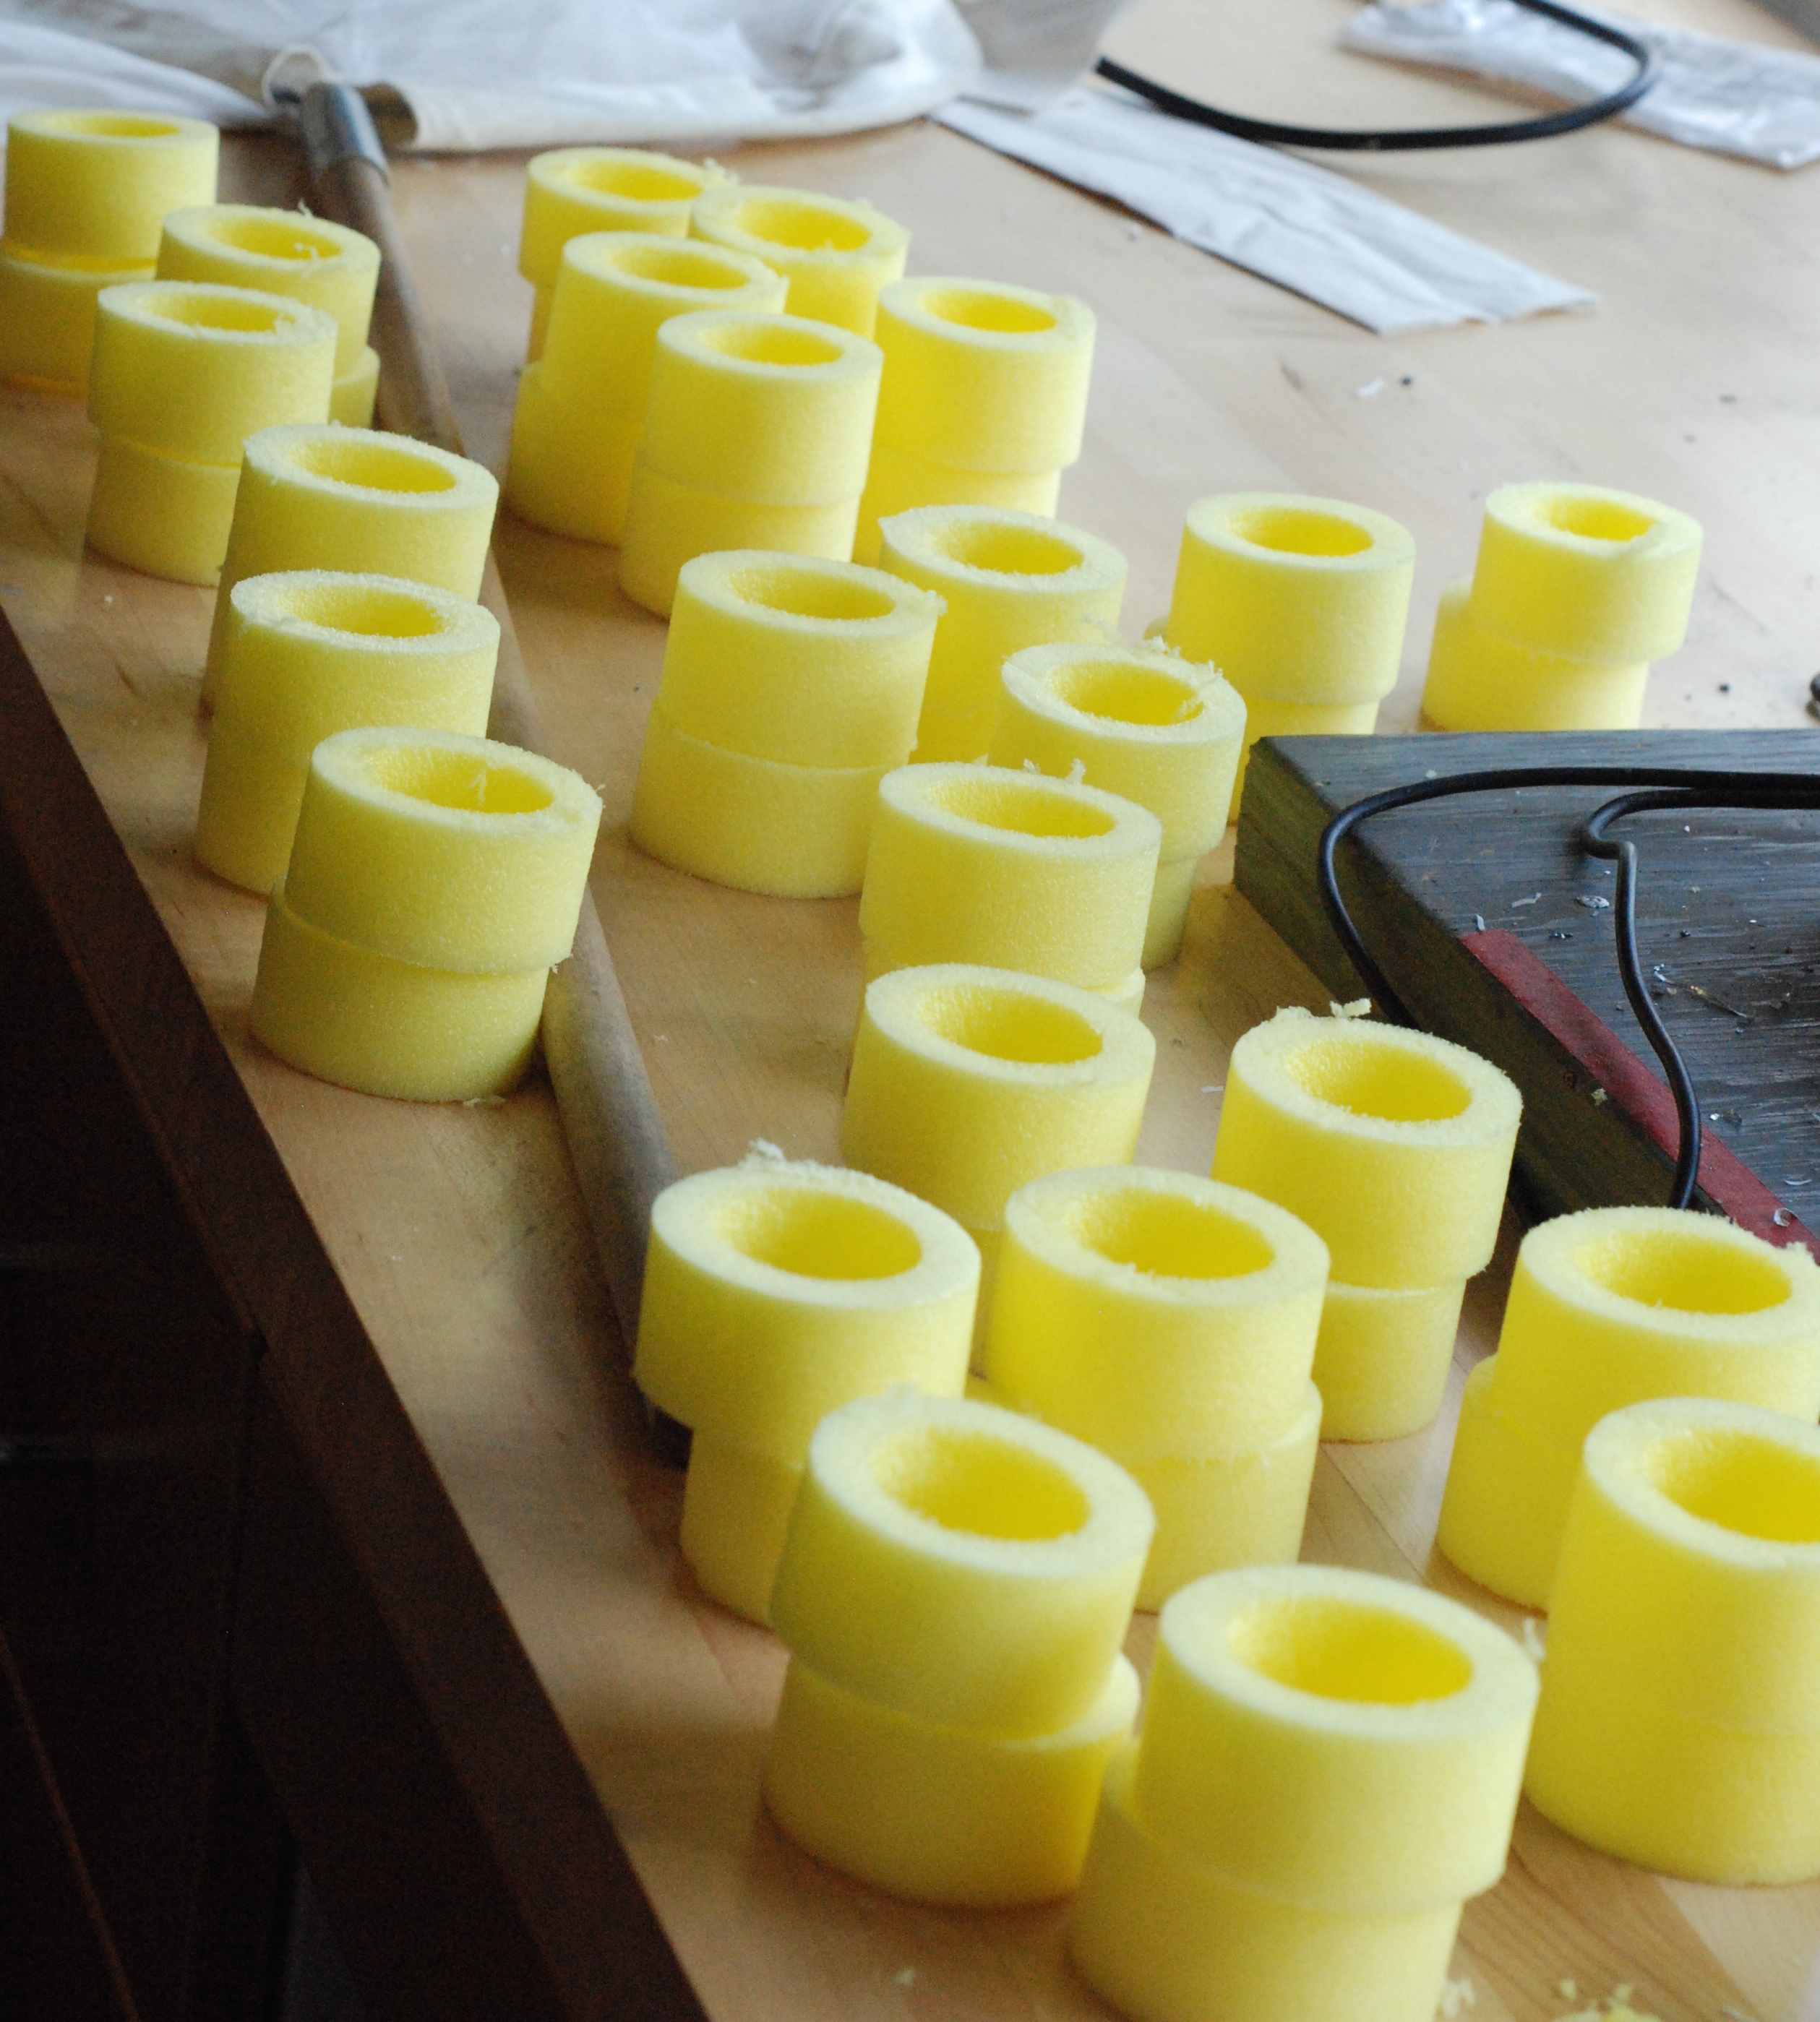
The tube should be cut into 2″ wide slices. You can use scissors, a razor blade, Exacto knife, or anything else. I used a chop saw to slice through six tubes in a matter of minutes. Also, the chop saw gave me a nice clean, straight cut. A band saw would work even better than a chop saw.
3. Glue the slices onto window screening
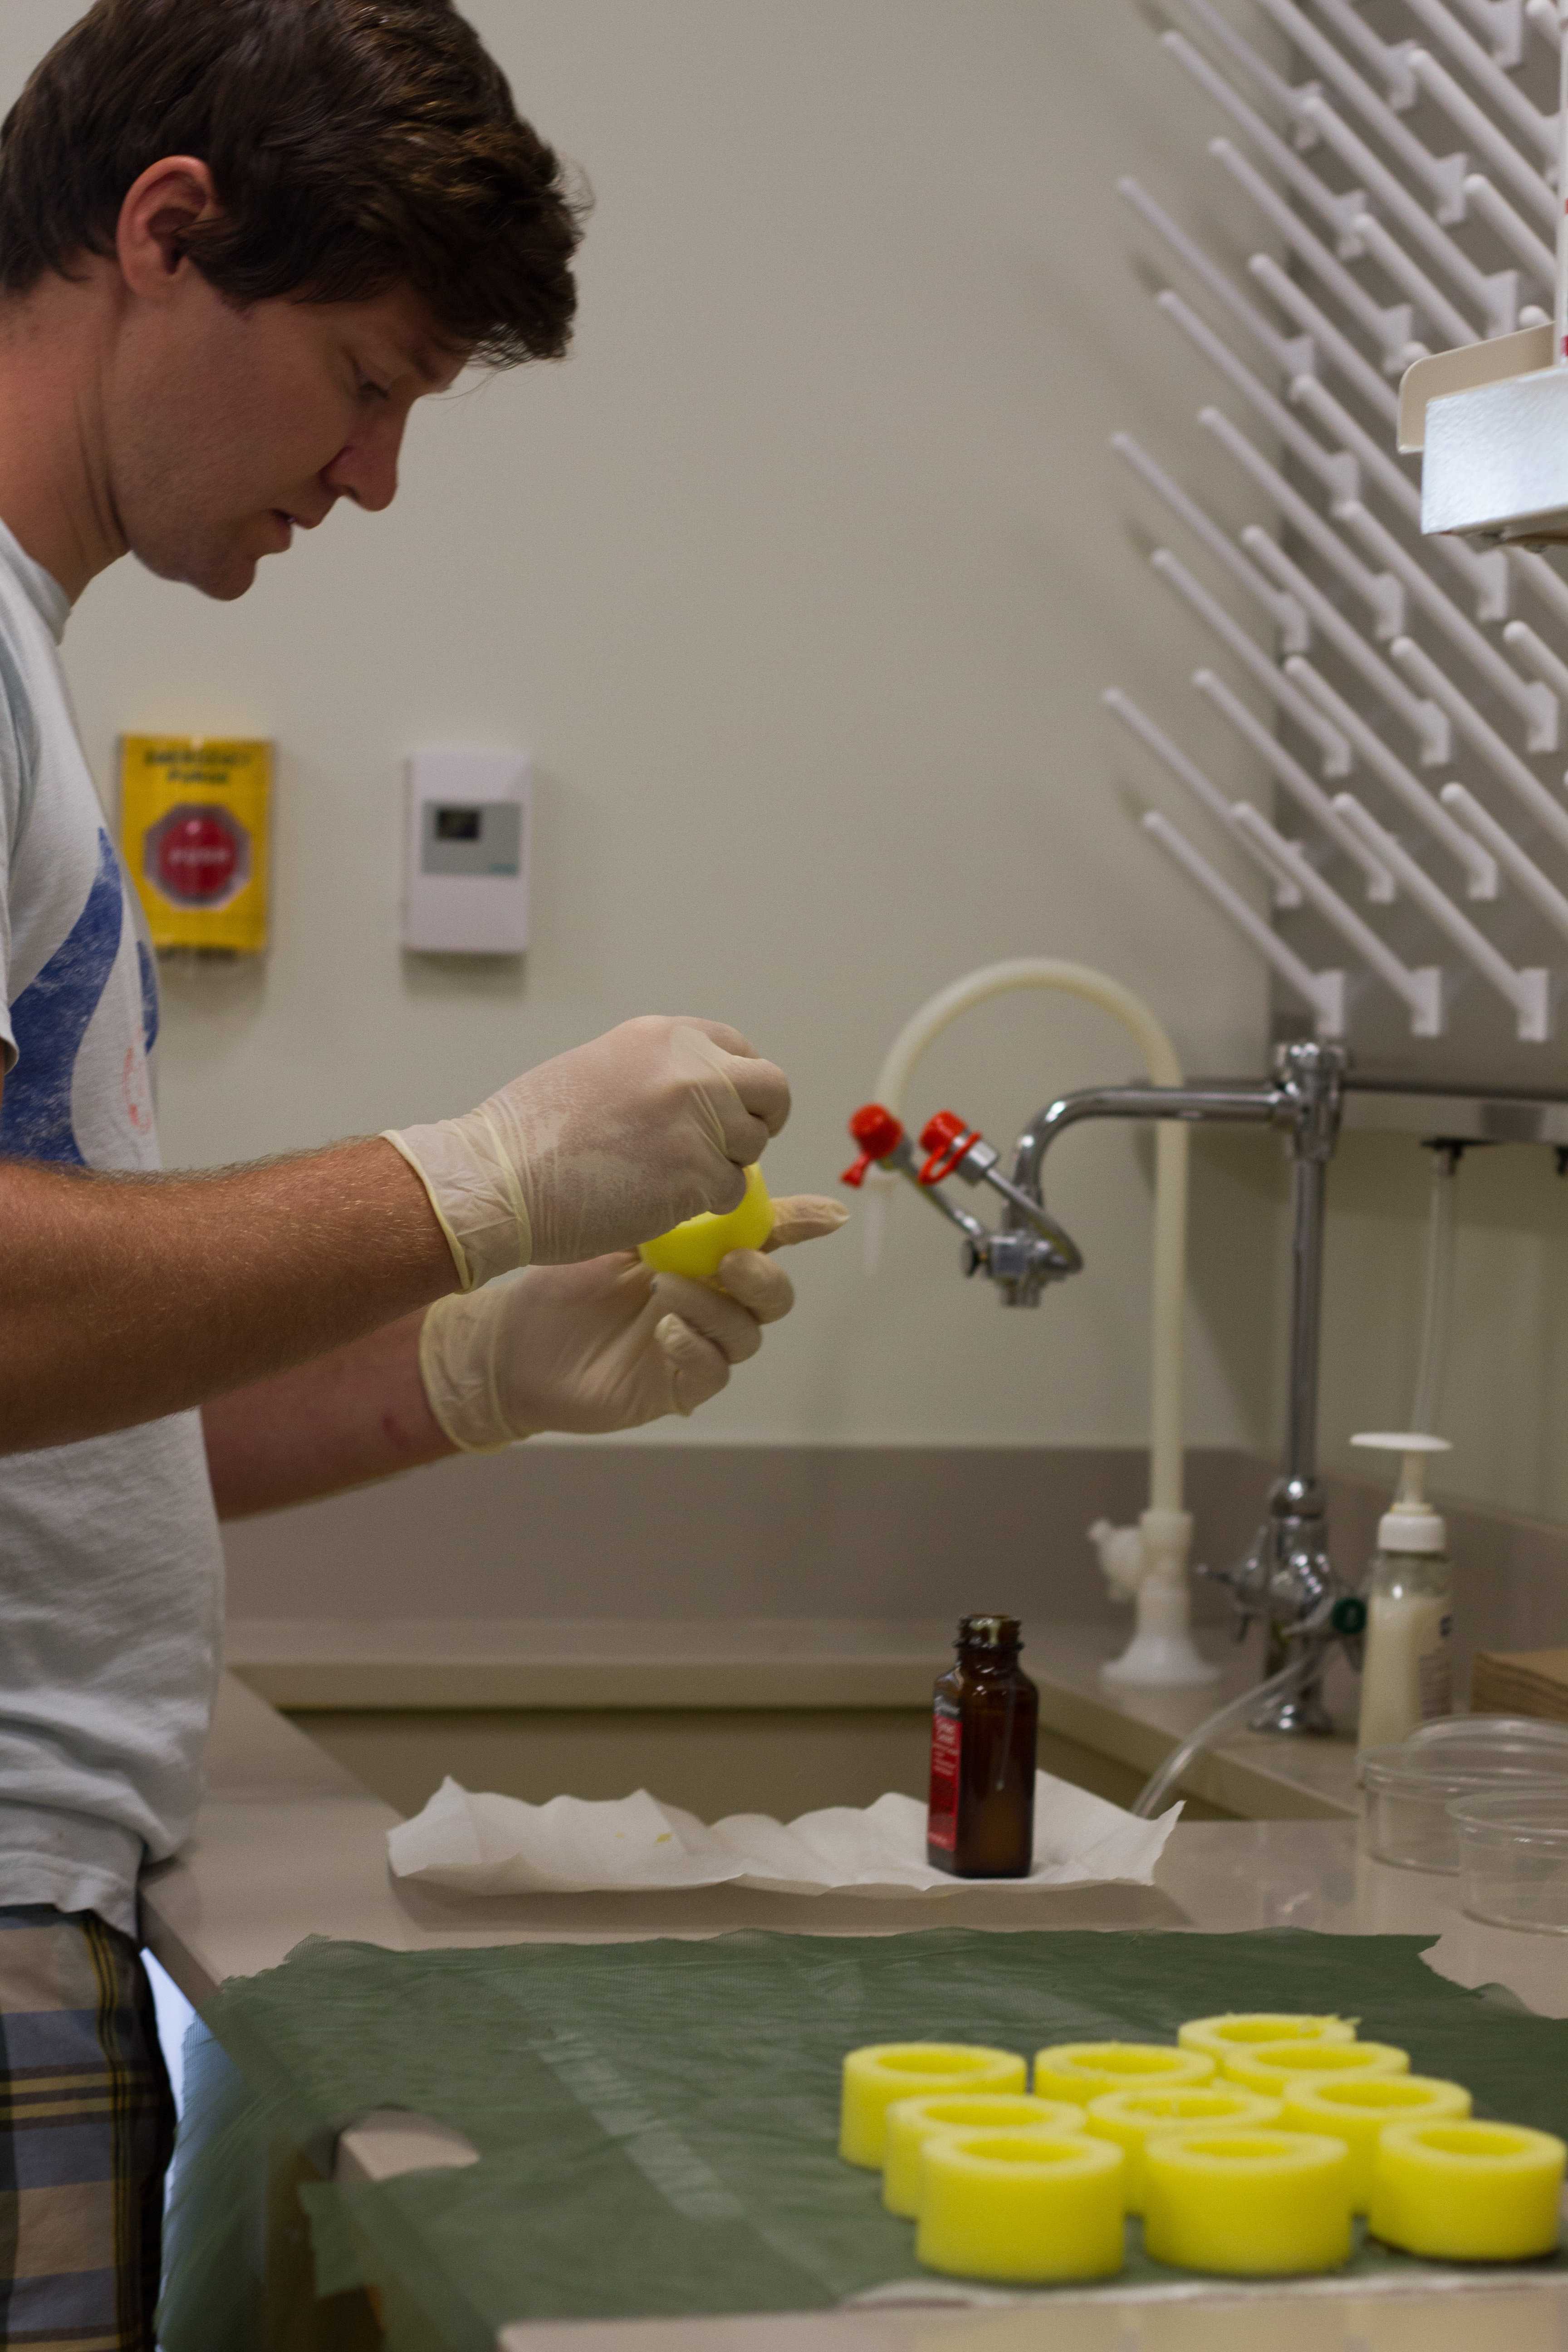
You can do this however you like. My preferred way is to lay the window screen on a table, coat one side of the foam slice with contact cement, and simply lay the slice onto the screen. Wait a few minutes for the cement to dry. This works incredibly well if you’re mass producing hundreds of clip cages like I was. Make sure you do this in a well-ventilated area. You’ll want to give the glue several days to dry and air out all of the fumes before putting insects inside.
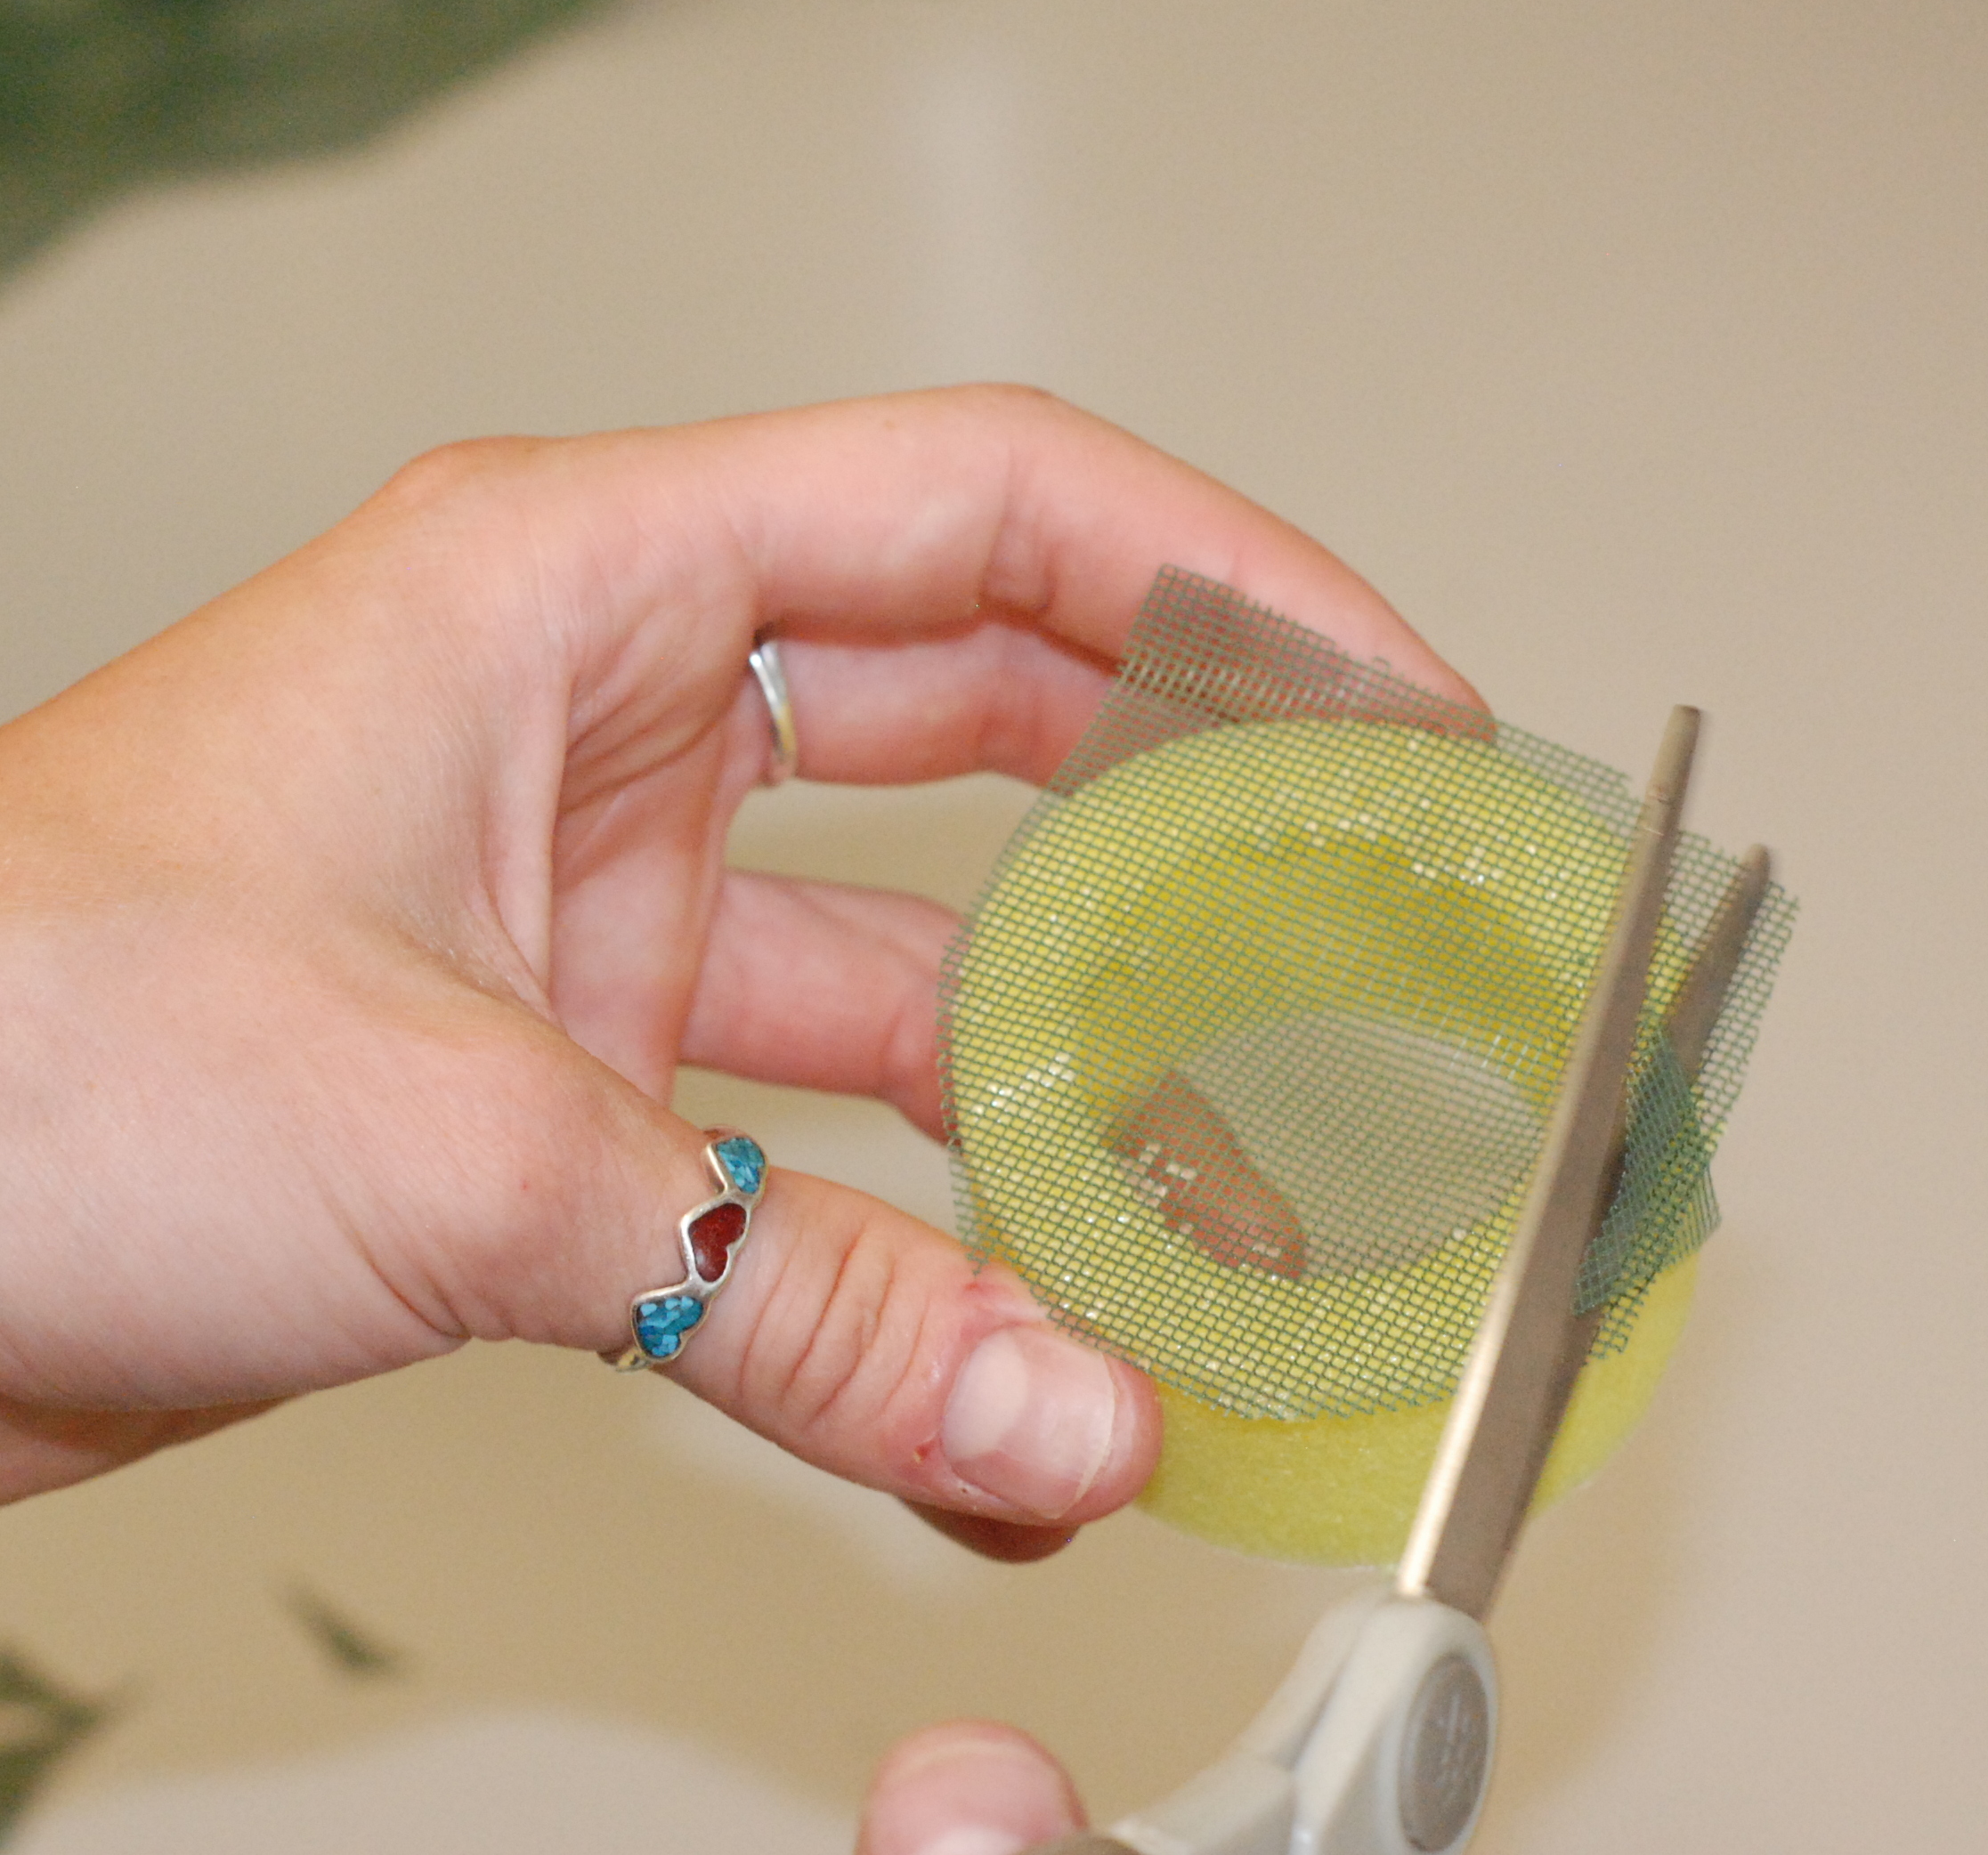
4. Cut the foam slices out of the window screen
This is pretty self-explanatory.
5. Use staples to connect two slices
I use three staples per clip cage. Put the two halves together (window screen facing out on both sides), and use the staples to fasten them together.
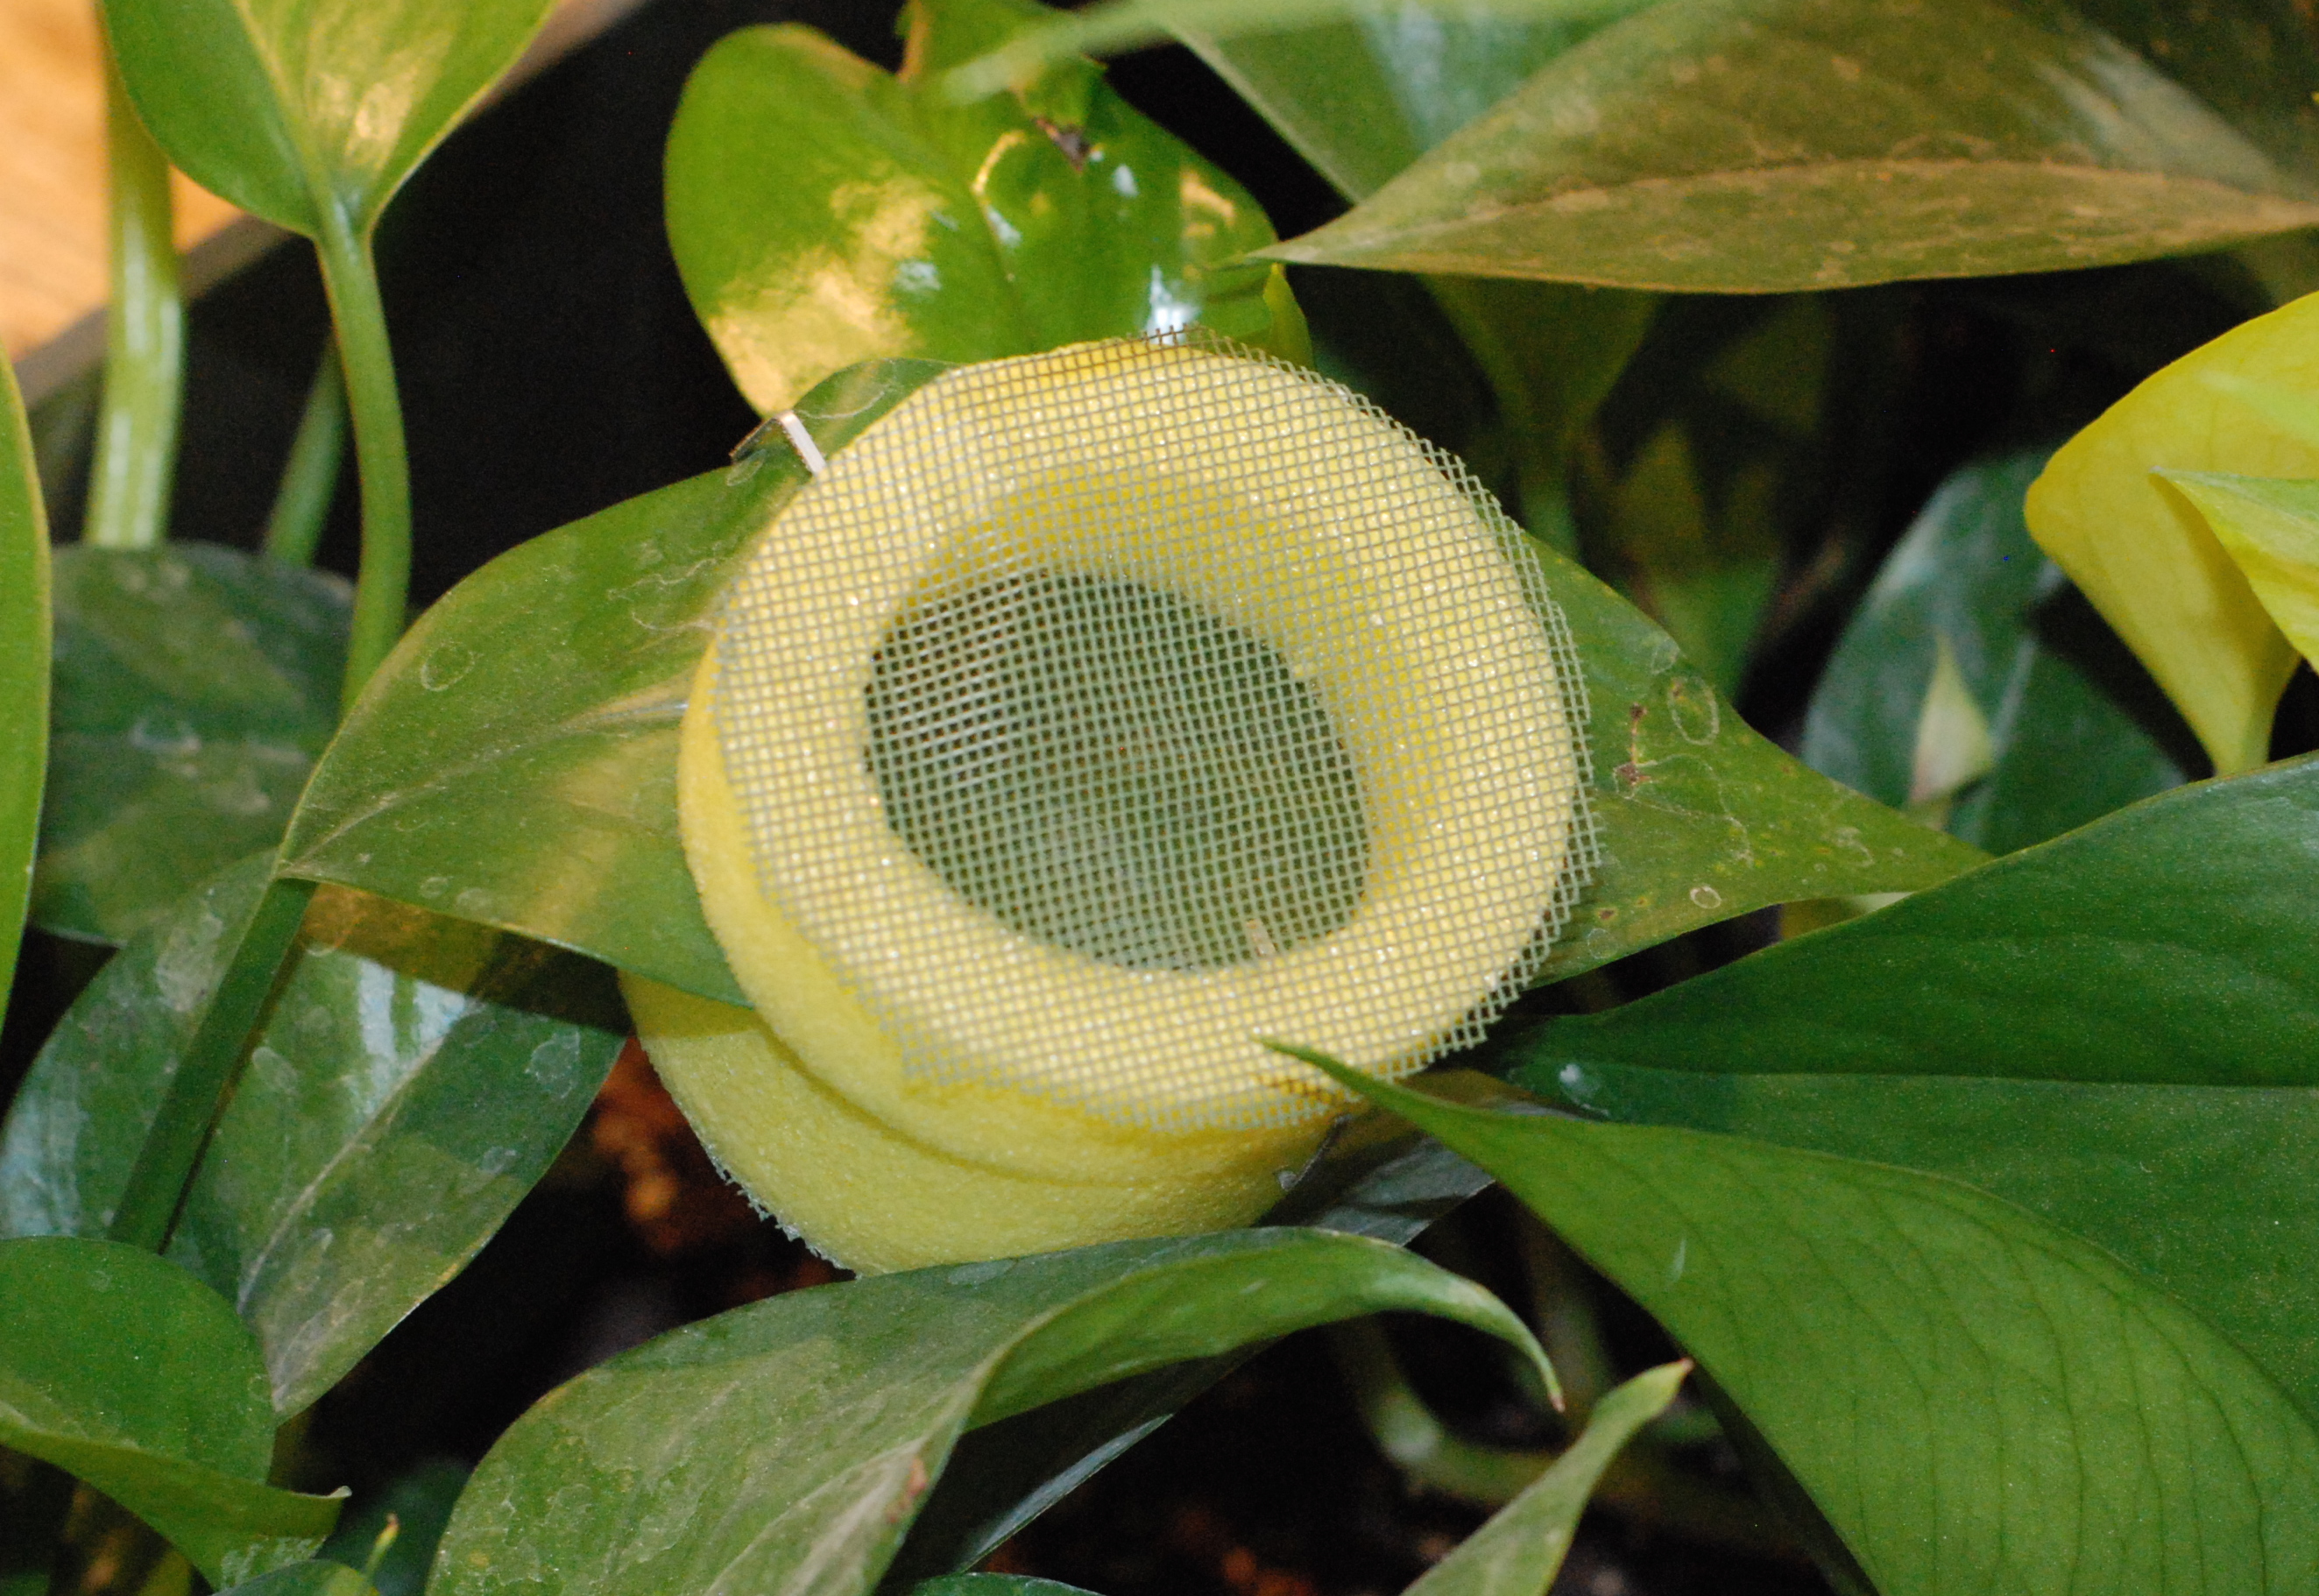
6. Place on plant with insect. Enjoy
Here is the final product in action. Each cage should cost about a dollar, if that.
RT @Nate_Lemoine: Cheap and Effective Homemade Insect Clip Cages: http://t.co/zHQZJLDXWv #science #teaching
Hello Nathalie,
Thanks a lot for this super well described tutorial!
We are currently doing our own as well!
I have question about the staples: which one do you use? Do you use a stapler or staple that you can put by hand?
How are you sure that the foam fit well to the leaf?
Thanks a lot!
sincerey,
Amandine
—
Chargée de Recherche CNRS
Génétique Quantitative et Évolution – Le Moulon
Université Paris-Saclay – INRAE – CNRS – AgroParisTech
Ferme du Moulon
91190 Gif-sur-Yvette
France